Welcome to the last post of or series! Thank you for joining us as we embraced the cool and fresh, savoring the simplicity and beauty of uncooked ingredients. Beyond their convenience, no-cook recipes are a celebration of seasonal abundance and creativity.
This series was created with the summer heat in mind, so you can can stay fueled and cool all summer long!
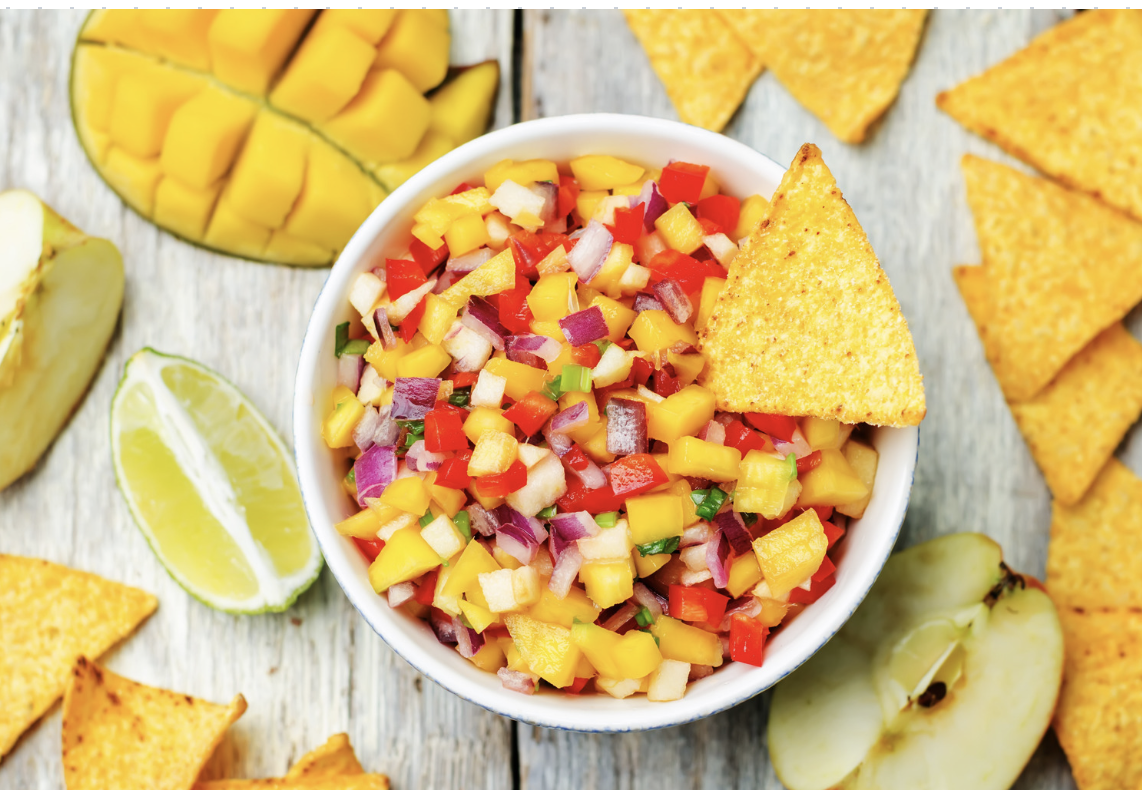
Our last recipe of the series is a delightful combination of ripe, juicy mangoes, zesty lime juice, and colorful vegetables that come together in a burst of flavors. This sweet and tangy salsa is perfect for pairing with tortilla chips, as a topping for grilled chicken or fish, or as a refreshing side dish on a warm summer day.
Sweet and Tangy Mango Salsa
This Sweet and Tangy Mango Salsa is a celebration of tropical flavors that will add a burst of freshness and zest to your meals. Enjoy the delightful combination of juicy mangoes, zesty lime, and colorful vegetables in every spoonful!
In a large mixing bowl, combine the diced mangoes, diced red bell pepper, finely chopped red onion, diced jalapeño pepper, and chopped cilantro.
In a separate small bowl, whisk together the lime juice, honey (or agave nectar), extra-virgin olive oil, ground cumin, salt, and pepper until well combined.
Pour the dressing over the mango and vegetable mixture in the large bowl.
Gently toss all the ingredients together until the salsa is evenly coated with the sweet and tangy dressing.
Taste the mango salsa and adjust the seasoning if needed, adding more lime juice, salt, or honey to balance the flavors to your preference.
Cover the bowl with plastic wrap or transfer the mango salsa to an airtight container. Refrigerate for at least 30 minutes to allow the flavors to meld together.
Before serving, give the salsa a gentle stir to redistribute the dressing.
Notes
Serve the Sweet and Tangy Mango Salsa as a refreshing dip with tortilla chips or as a flavorful topping for grilled chicken, fish, or tacos.
Gone are the days of slaving over a hot stove; instead, we invite you to continue to embark on a delightful journey of no-cook recipes that showcase the bountiful offerings of nature, transformed into nourishing masterpieces without the need for any heat.
This series was created with the summer heat in mind, so you can can stay fueled and cool all summer long!
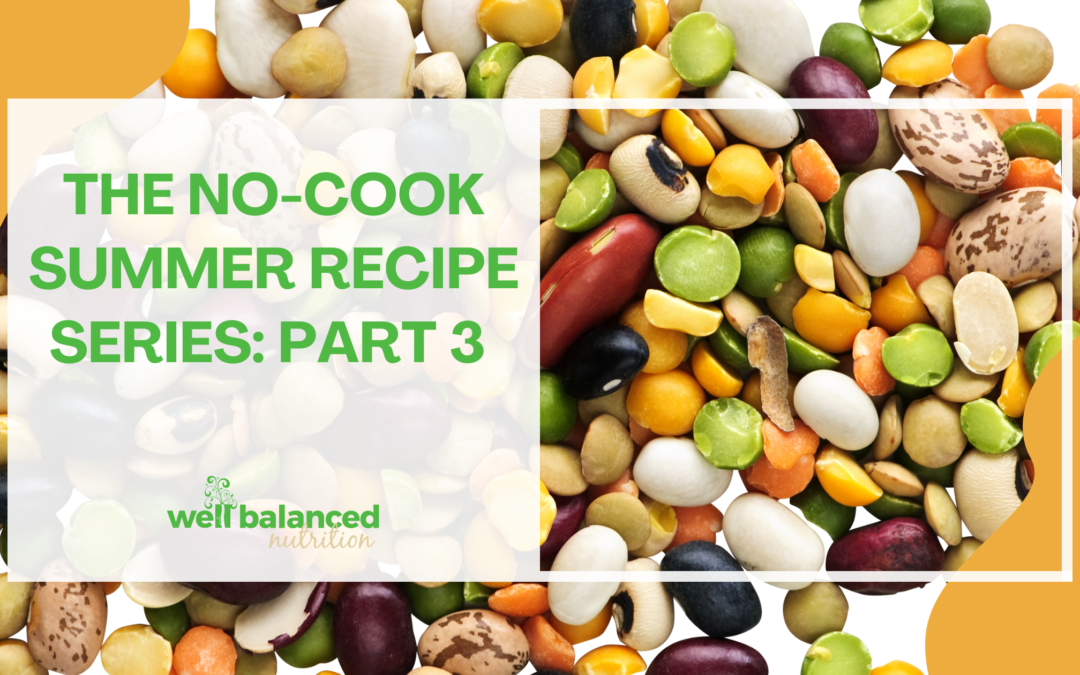
Our third recipe is versatile- serve it as a side dish or dip for parties, gatherings, or family meals. Plus, you can prepare it in advance and let it sit in the fridge until you’re ready to serve, making it a convenient and delicious option to snack on throughout the week.
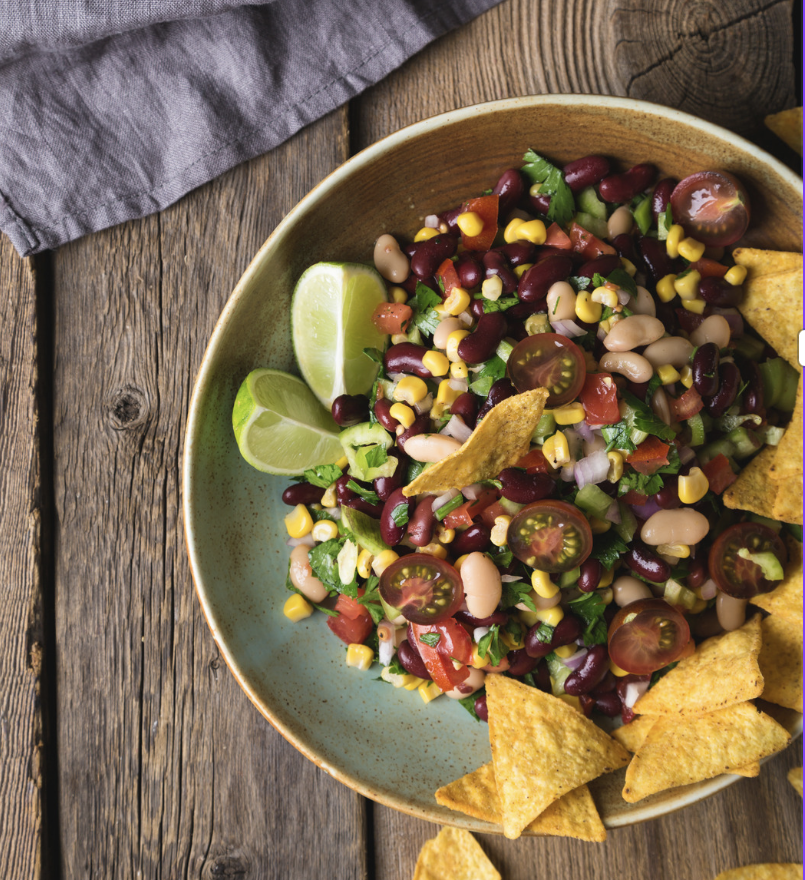
Cowboy Caviar
Cowboy Caviar, also known as Texas Caviar, is a zesty and flavorful salsa-style dip that combines a variety of colorful vegetables, beans, and a tangy dressing. It's perfect for serving as a side dish, a dip for tortilla chips, or even as a filling for tacos.
In a large mixing bowl, combine the drained and rinsed black beans, black-eyed peas, corn kernels, diced cherry tomatoes, diced red and green bell peppers, finely chopped red onion, chopped cilantro, and the optional diced jalapeño pepper (for those who enjoy some heat). Gently toss the ingredients together to ensure even distribution.
In a separate small bowl, whisk together the olive oil, red wine vinegar, fresh lime juice, honey (or agave nectar), ground cumin, chili powder, garlic powder, salt, and pepper. Adjust the seasonings to your taste preferences, adding more lime juice for tang or more honey for sweetness.
Pour the dressing over the salad mixture and toss everything together until all the ingredients are well coated with the dressing.
Cover the bowl with plastic wrap or transfer the Cowboy Caviar to an airtight container. Refrigerate for at least 1 hour to allow the flavors to meld together. For even better results, refrigerate it overnight.
Before serving, give the Cowboy Caviar a gentle stir to redistribute the dressing and flavors. Garnish with additional cilantro leaves if desired.
Notes
Serve the Cowboy Caviar as a side dish alongside grilled meats, or as a flavorful dip with tortilla chips. You can also enjoy it as a filling for tacos or alongside grilled chicken or fish.
The sun-kissed days of summer are in full swing, bringing with them an abundant harvest of vibrant fruits, fresh vegetables, and a medley of aromatic herbs. As we bask in the warmth of the season, the last thing we want is to spend time over a hot stove or grill.
This series was created with the summer heat in mind, so you can can stay fueled and cool all summer long!
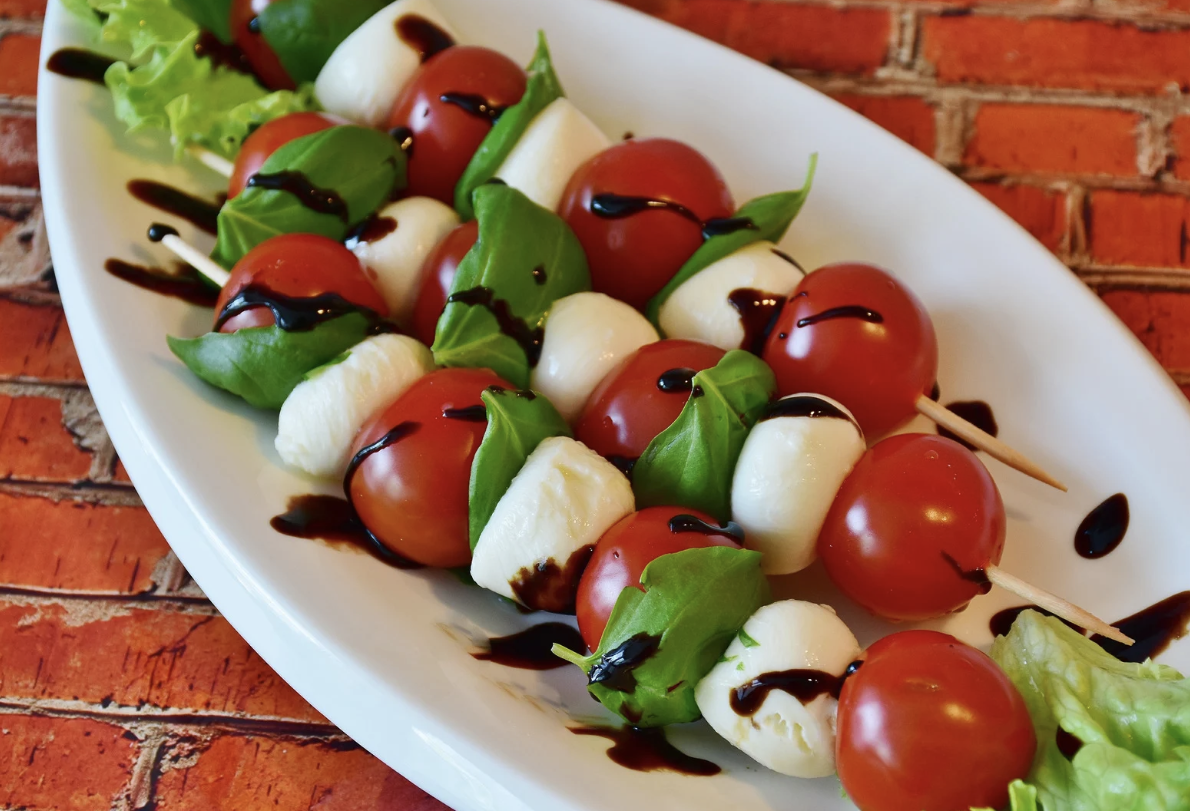
Below are some simple and delicious caprese salad skewers. The simplicity of the ingredients and the ease of preparation make these skewers a popular choice for serving as finger food, appetizers, or even as a light summer snack. They offer a burst of fresh flavors that are sure to please any palate, making them a delightful addition to any summer gathering.
Summery Caprese Salad Skewers
The vibrant red tomatoes, creamy white mozzarella, and vibrant green basil leaves create a beautiful color combination, while providing a flavorful addition to any meal.
Wash the cherry tomatoes and fresh basil leaves. Drain the mozzarella balls if they are packed in water.
Take a skewer or toothpick and start by threading one cherry tomato onto it, followed by one mozzarella ball, and then one basil leaf. Repeat this pattern until you have four ingredients on each skewer, ending with a cherry tomato on top.
Lightly season the skewers with a sprinkle of salt and pepper to taste.
Just before serving, drizzle the Caprese salad skewers with a balsamic glaze or balsamic reduction and a generous drizzle of extra-virgin olive oil.
As the scorching summer sun beats down, the last thing we want is to spend hours slaving over a hot stove. Luckily, there are plenty of delicious recipes that are perfect for those hot summer days when you want to keep cool and avoid cooking altogether.
Our no-cook recipe series was created with the summer heat in mind, so you can can stay fueled and cool all summer long! We’ll be sharing family favorites, reinvented classics, and innovative concoctions that showcase the essence of summer on a plate over the next 4 posts.
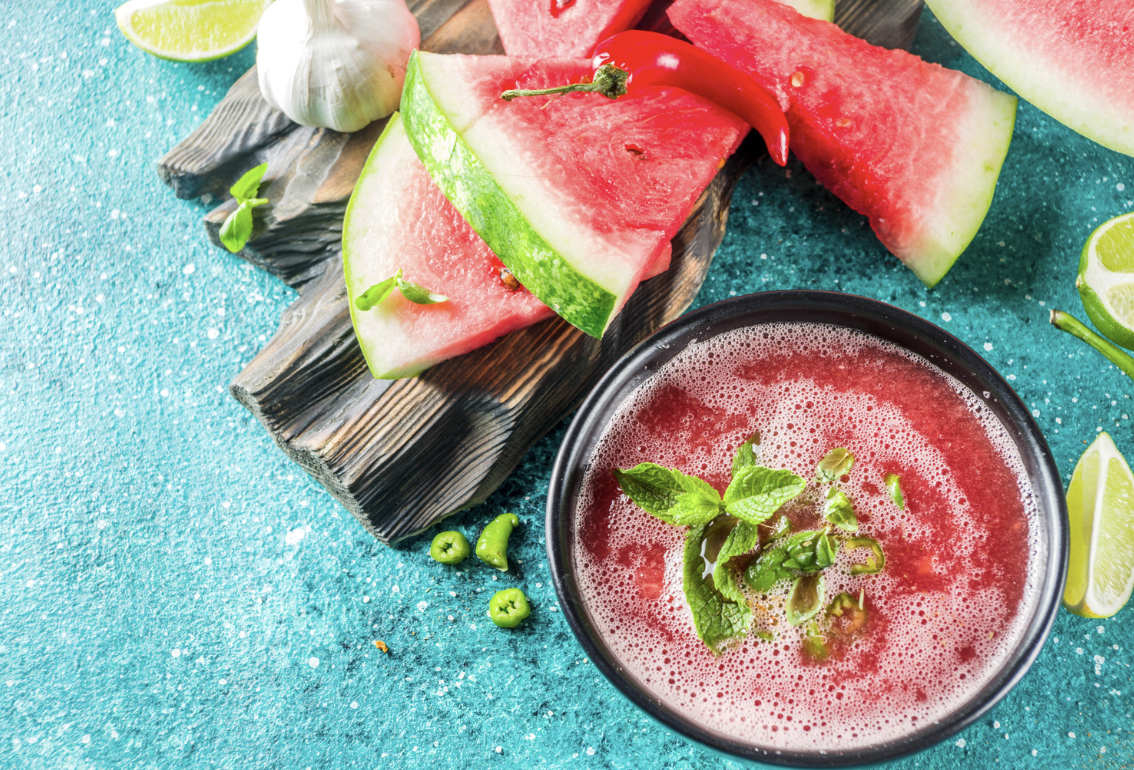
To kick things off, we are introducing our zesty watermelon gazpacho. This cold soup is a packed with water-containing ingredients, making it a flavorful way to hydrate. With its inventive fusion of flavors and cooling properties, watermelon gazpacho has earned its place as a celebrated summer delicacy. Whether served as an elegant appetizer at a garden party or as a light and refreshing lunch on a scorching afternoon, this contemporary twist on a classic never fails to impress, delight, and rejuvenate.
Zesty Watermelon Gazpacho
Embracing the seasonal sweetness of ripe watermelons and blending it with the savory essence of vegetables, this modern twist on gazpacho is an absolute sensation for the taste buds.
It’s always great to have a go-to recipe that never fails to impress, and that’s what I’ve found with these muffins! It’s hard to believe they contain various fruits and vegetables – because they just taste great! Even picky eaters will likely love them!
Kristen Norton
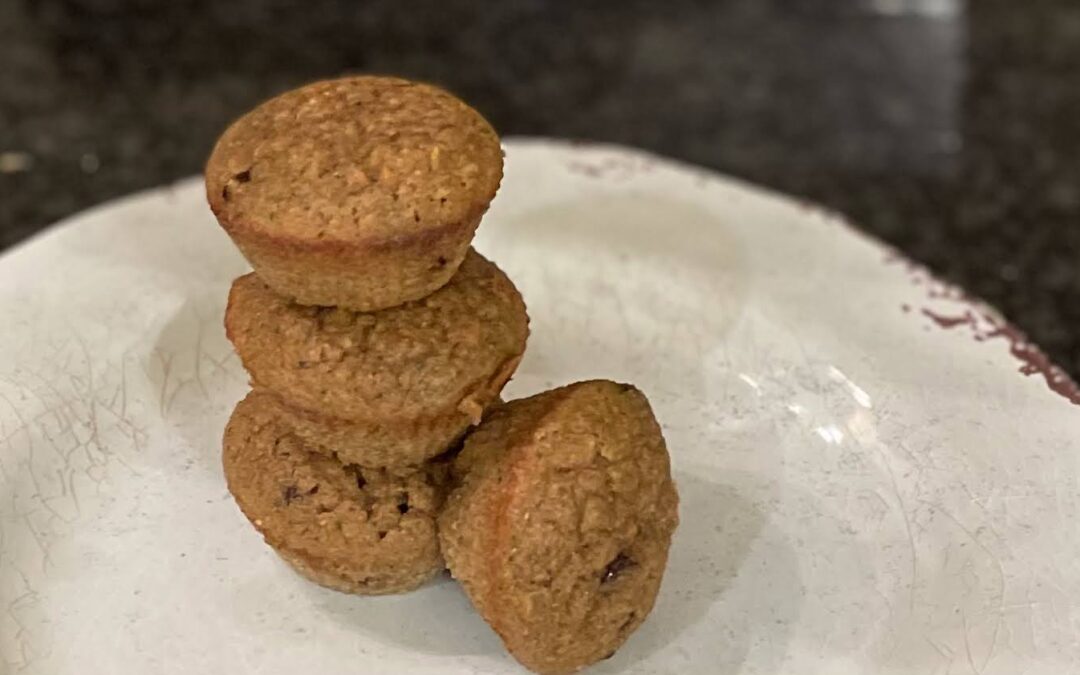
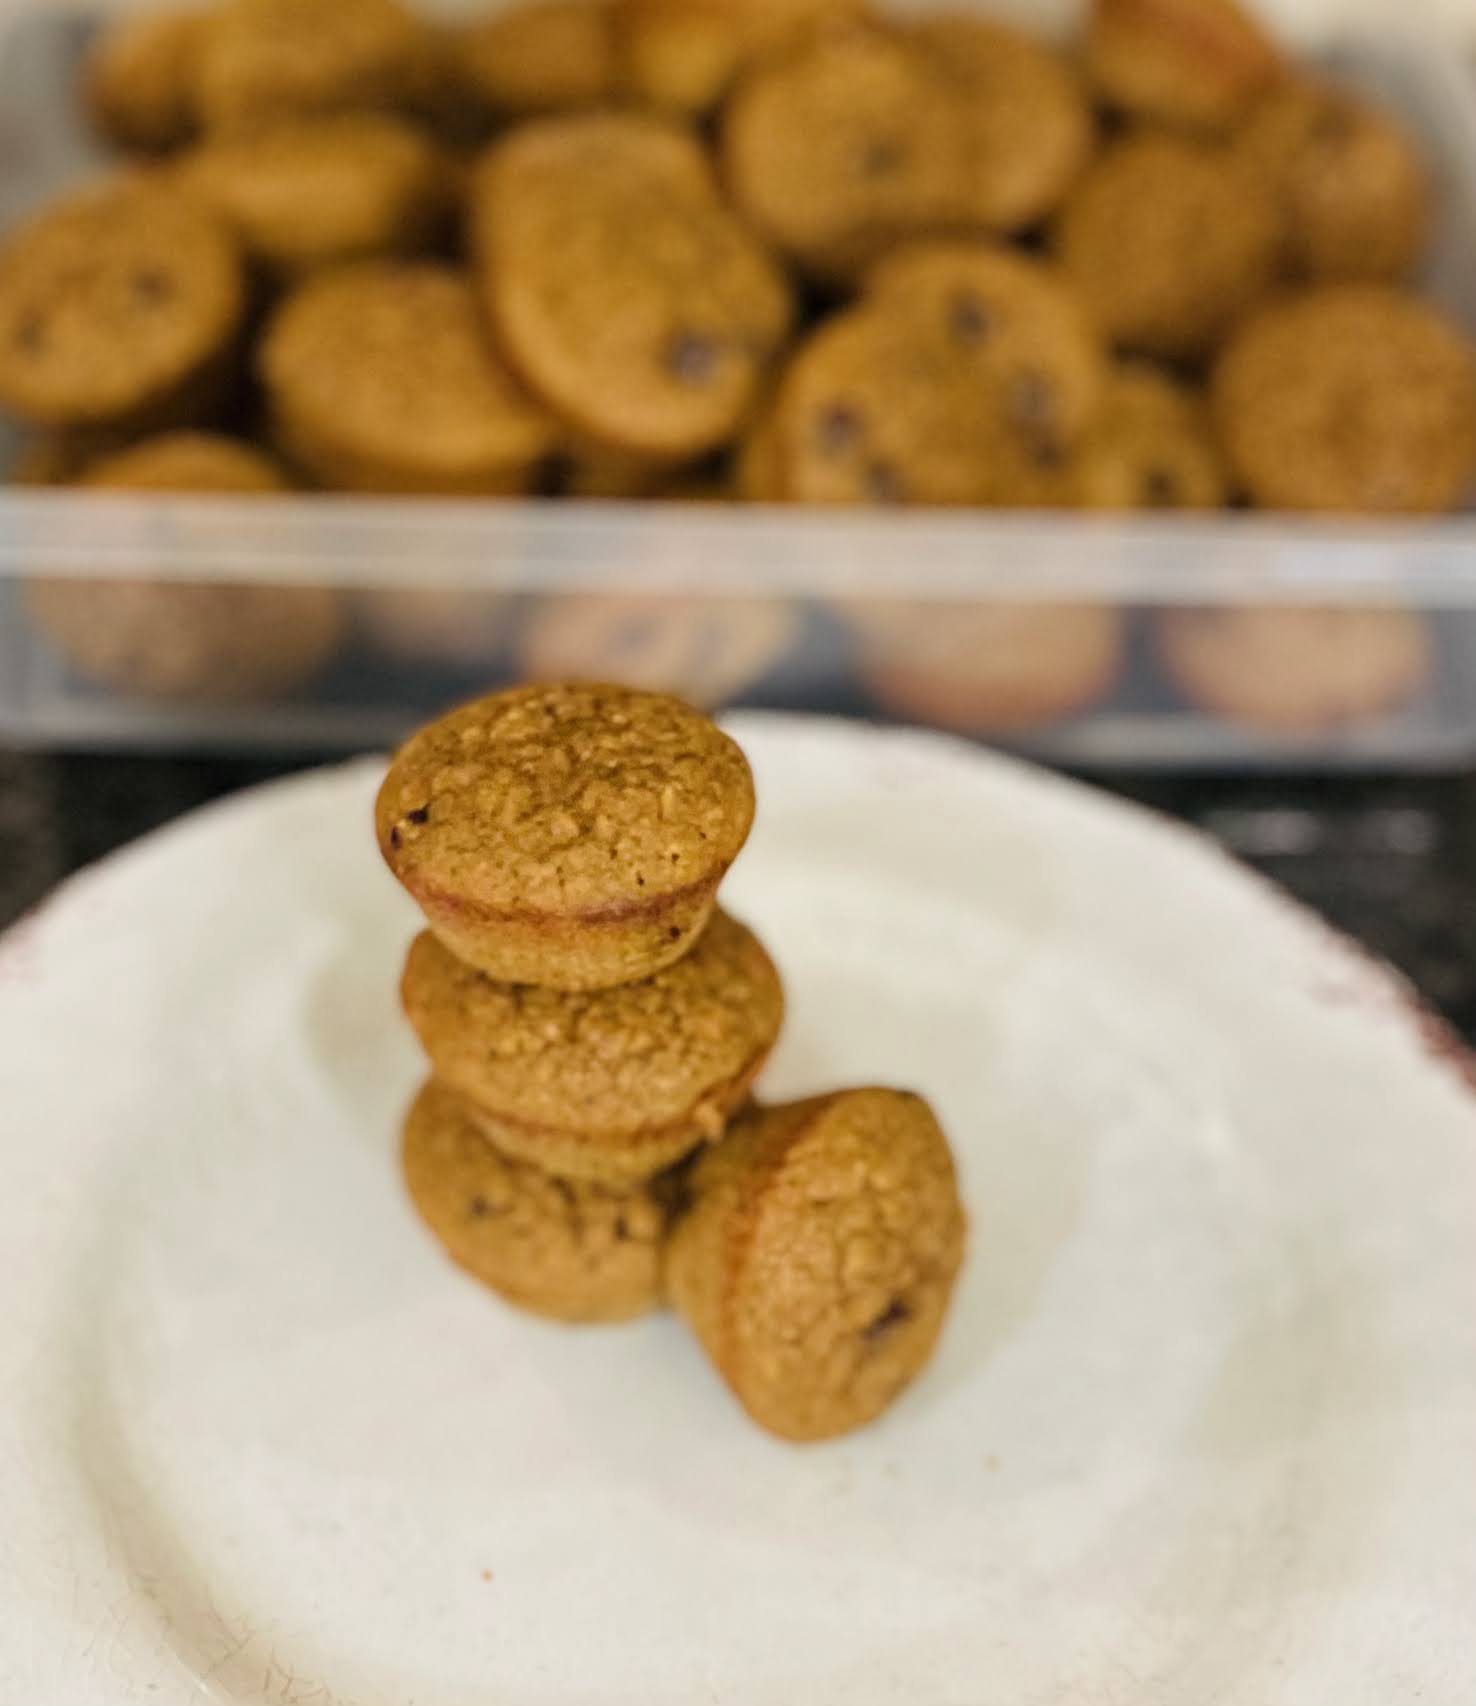
Very-Veggie Chocolate Chip Muffins
These muffins are full of vegetables and fruits. Great for a snack, part of breakfast or lunch, and will go quickly!
2Tbsmilk(2% cow's milk was used, any type of milk should work)
1/2cupGreek yogurt(Plain or Flavored) We love Oikos
4Tbsbutterunsalted, room temp
2eggslarge
1/2cupbrown sugar
1tspvanilla extract
1/2cupEnjoy Life Mini Semi-Sweet Chocolate Chips
Equipment
1 electric hand mixer
2 bowls
1 food processor
2 mini muffin tins
Method
Wash, chop and steam the broccoli.
Wash and chop apple, zucchini, and carrots into large chunks.
Preheat oven to 350°F. Place cupcake liners into mini muffin pan; set aside.
In a medium bowl mix together flour, collagen, baking soda, cinnamon, and salt; set aside.
In a food processor, combine steamed broccoli, zucchini, apple, carrots, banana, a milk, and yogurt. Purée until smooth.
In a mixer or another bowl, combine the brown sugar + butter and beat until smooth. Add eggs and vanilla and beat until smooth.
Add the fruit and veggie puree into the wet ingredients and stir until combined.
Add dry ingredients to the wet and mix until just combined.
Fold in chocolate chips.
Fill muffin cups about 2/3 full with batter.
Bake for 20-25 minutes or until tops are slightly brown and a toothpick inserted in the center comes out clean and muffins bounce back when touched.
Allow to cool for 5-10 minutes before serving.
Notes
What is Collagen Powder? Collagen is an essential protein found in our bodies and plays a vital role in maintaining the health of our skin, hair, nails, joints, and bones. Typical diets no longer contain many collagen sources (collagen comes from animal connective tissues such as bones, skin, and cartilage). As we age, our bodies produce less collagen, leading to wrinkles, joint pain, and other signs of aging. This is where collagen powder comes in as a dietary supplement. Some studies suggest that collagen powder may help improve gut health and reduce inflammation.
Collagen powder is typically unflavored and can be added to your favorite drinks or foods, making it easy to incorporate into your daily routine.Is it okay for children? Collagen is safe for children in small amounts, such as in this muffin recipe. What if I don't have collagen powder or don't want to use it?
To provide the best experiences, we use technologies like cookies to store and/or access device information. Consenting to these technologies will allow us to process data such as browsing behavior or unique IDs on this site. Not consenting or withdrawing consent, may adversely affect certain features and functions.
Functional
Always active
The technical storage or access is strictly necessary for the legitimate purpose of enabling the use of a specific service explicitly requested by the subscriber or user, or for the sole purpose of carrying out the transmission of a communication over an electronic communications network.
Preferences
The technical storage or access is necessary for the legitimate purpose of storing preferences that are not requested by the subscriber or user.
Statistics
The technical storage or access that is used exclusively for statistical purposes.The technical storage or access that is used exclusively for anonymous statistical purposes. Without a subpoena, voluntary compliance on the part of your Internet Service Provider, or additional records from a third party, information stored or retrieved for this purpose alone cannot usually be used to identify you.
Marketing
The technical storage or access is required to create user profiles to send advertising, or to track the user on a website or across several websites for similar marketing purposes.